2021 年 6 月,Astro 问世,截止目前,Astro 的最新版本已经更新到了 4.1 。而我开始了解 Astro 也仅仅是上周,但是带给我的感受可以说是前所未有的。
There’s a simple secret to building a faster website — just ship less.
说白了,Astro 就是一个模版引擎,这不是什么新鲜玩意儿,在 PHP 称霸 Web 开发的年代,我们有 Smarty,进入 NodeJs 时代之后我们有 EJS、Pug 等基于 JS 的模版引擎。这些模版引擎所做的事情无非就是把页面代码模块化,最后编译成静态文件,这样的应用维护成本相对较低,且成品能够提供很好的搜索引擎优化能力,爬虫能够非常容易获取网站内容,页面的性能也会比单页面应用要更好,因为省去了客户端渲染步骤。市面上有那么多模版引擎,为什么选 Astro 呢?很简单的一个原因,它能集成 Vue / React 组件,并最终编译为静态。
既然是换博客引擎,那一定少不了折腾,之前从 Jekyll 转到 Hexo 其实还算是比较无痛的,但是从 Hexo 转到 Astro 就有点蛋疼了,因为 Astro 的定位并不是一个博客引擎,而是模版引擎,意味着 Astro 在代码层面其实更加靠底层,所以大部分博客的功能需要手动实现,新站点倒还好,老站点如果需要实现向下兼容,还真不是一件容易的事情。
实现 Hexo 的链接结构
我之前用的链接结构长这样:
:year/:month/:day/:title.html但是我的 markdown 文件是平铺的:
:year-:month-:day-:title.md而 Astro 使用的是基于文件夹的路由,如果需要达成和 Hexo 一样的效果,最先进我脑子的想法就是把 markdown 文件拆分到对应的 Astro 文件夹(路由)中去,这个想法也仅仅是存在了 3 秒,有没有一种更聪明的做法呢?有!Astro 提供了动态路由功能,和 Vue 的路由一样,对于同种类型的链接,我们只需要定义一遍路由即可,不同的是,Astro 路由的定义需要文件夹结构和名称来完成:
src
└── pages
    └── [year]
        └── [month]
            └── [date]
└── [slug].astro中括号里面的字符就是路由变量,我们可以在全局变量Astro.params中获取到,而针对任何动态路由,Astro 在文档中也明确指出了,需要导出一个getStaticPaths方法,因为 Astro 是一个静态网站生成器,它需要明确知道,动态路由中每一个变量都存在哪些值。
---
// src/pages/[year]/[month]/[date]/[slug].astro
import {getCollection, getEntry} from 'astro:content'

export async function getStaticPaths() {
  const allPosts = await getCollection('posts')
  return allPosts.map(post => {
    let date_str = post.slug
    let date_array = date_str.split('-')
    let year = date_array[0]
    let month = date_array[1]
    let day = date_array[2]
    let postPath = post.slug.slice(11)
    return {
      params: {
        slug: postPath,
        year: year,
        month: month,
        date: day
      },
      props: {
        entry: post
      }
    }
  })
}

const entry = await getEntry('posts', Astro.props.entry.slug)
const {Content} = await entry.render()
---

<Content/>
里面 .astro 组件的代码就是这样的,我们这边用到了一个getCollection和
getEntry的方法,我们暂时先放一旁,后面会讲到。
实现 Hexo 的文章分类
在用 Hexo 写博客的时候,我们可以很方面的在 Markdown 里面加上 tags 数组来告诉 Hexo 这篇文章属于哪些分类,或者说拥有哪些标签,这对于 SEO 来说也是非常有帮助的,Astro 默认没有这个功能,但是实现起来不困难,还是动态路由。我们需要在pages文件夹下创建一个新的文件夹叫tags,然后再在这个文件夹下创建一个[tag].astro的文件,这个文件就是我们的分类页面,然后我们需要在[tag].astro里面写入下面的代码:
---
import { getCollection } from 'astro:content'

export async function getStaticPaths() {
  let allPosts = await getCollection('posts')
  let allTags = []
  allPosts.map(post => {
    allTags = allTags.concat(post.data.tags)
  })

  return allTags.map(tag => {
    return {
      params: {
        tag: tag,
      }
    }
  })
}

let allPosts = await getCollection('posts')

// 获取当前 tag
const currentTag = Astro.params.tag
---

{
  // allPosts.filter ...
  // allPosts.map ...
  // 你的列表实现,jsx语法
}
这一步和上一步的代码基本相同,只是这里我们需要先获取所有的 tag,然后再根据当前 tag 来过滤文章,最后渲染出列表。
Markdown 文件如何安置?
Markdown 文件如果直接放在src/pages下面,你的链接结构会变得非常简单,就是domain.com/:title,也不会需要动态路由,你的 Markdown 文件名就是你的路由。按照 Astro 官网的描述,任何 src/pages 下被支持的文件(.astro .md .mdx .html .js)都会被编译到路由中去。所以自然而然的,我也把之前的 Markdown 文件全都放到了 pages 里面,但是文章的链接结构会变成这样:
:year-:month-:day-:title如果我需要保持原有的链接结构,我就需要把 Markdown 文件放到src/content/posts下面,然后再用getCollection和getEntry来获取文章内容。需要注意的是,这里我们多了一个 posts 文件夹,按照官网的描述,这个文件夹可以看作是一个集合,你可以定义多个集合比如门户、新闻或者博客,这里我们只需要 posts 一个文件夹用来放文章就好了。不过,要让这个集合能被正常使用,我们还需要在src/content下面创建一个config.js来定义我们这个集合的行为。
import { z, defineCollection } from 'astro:content'

const blogCollection = defineCollection({
  type: 'content',
  schema: z.object({
    title: z.string(),
    tags: z.array(z.string()).optional(),
    deprecated: z.boolean().optional(),
    draft: z.boolean().optional()
  })
})

export const collections = {
  posts: blogCollection
}我们用了defineCollection这个方法来定义集合中每一篇博客返回的数据(Markdown 中的 Frontmatter),这样我们才可以使用getCollection和getEntry来获取文章内容了。
const allPosts = await getCollection('posts')
const entry = await getEntry('posts', slug)
实现 RSS 订阅
前面我们了解到,Astro 支持将 pages 文件夹中的文件转换为路由,其中就包括 js,官方把它叫做 Endpoints,通俗来讲的话,其实就是接口。
我们可以先来看一下这个 js 文件的结构:
export async function GET(context) {
  let req = context.request

  return new Response('Hello World!', {
    headers: {
      'content-type': 'text/plain'
    }
  })
}
这个文件的结构和 Serverless Functions 非常类似,我们可以在这个文件里面写入我们的逻辑,然后返回一个 Response 对象,在这里我们返回了一个简单的字符串,同样,我们也可以返回一个 XML 文件,这样就可以生成 RSS Feed 了。
// src/pages/atom.xml.js
import { getCollection } from 'astro:content'

export async function GET(context) {
  let allPosts = await getCollection('posts')

  let atom = `<feed xmlns="http://www.w3.org/2005/Atom">
  <title>Jacky Wong</title>
  <link href="https://jw1.dev/"/>
  <id>https://jw1.dev/</id>`

  allPosts.map((post, index) => {
    let { date, deprecated, draft } = post.data

    // filter...
    // sort...
    // form other data...

    atom += `<entry>
  your stuff here
</entry>`
  })

  atom += `</feed>`

  return new Response(atom, {
    headers: {
      // important
      'content-type': 'application/xml;charset=UTF-8'
    }
  })
}
在 MDX 中使用 Vue 组件
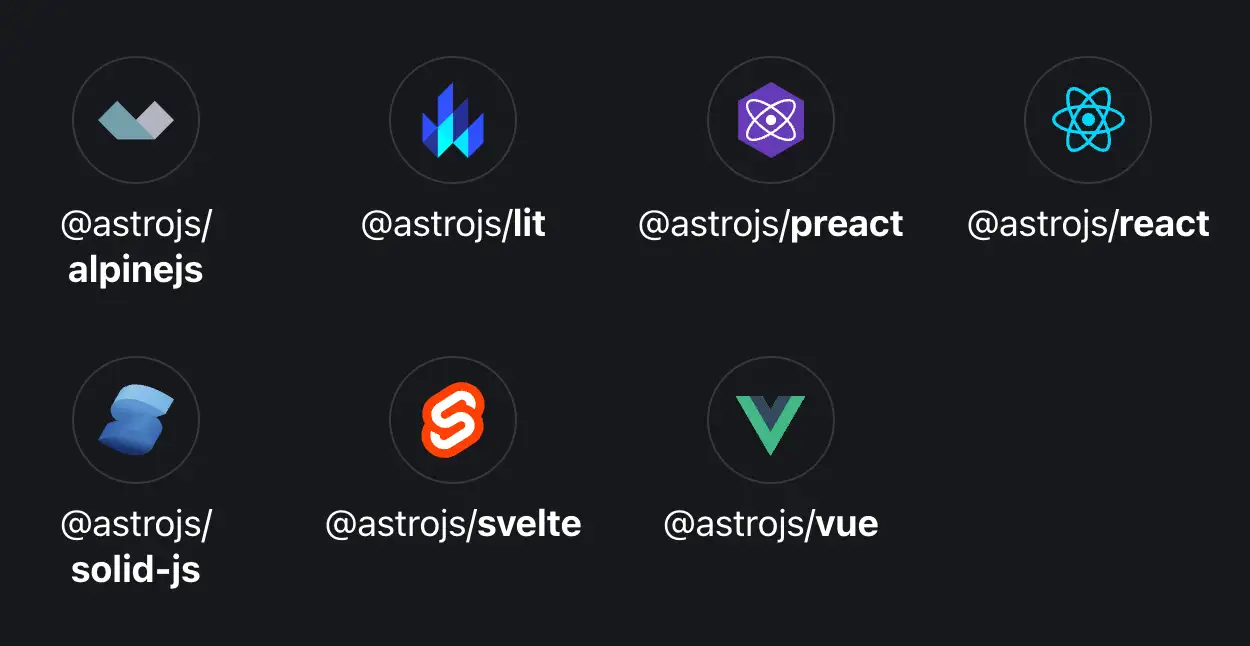
最激动人心的功能就是这个了,Astro 可以使用 MDX(JSX in Markdown)作为文章入口,而 MDX 中可以混用 7 种前端框架的组件。

在使用之前我们需要先安装 Vue 和 MDX 依赖:
npx astro add vue
npx astro add mdx
现在我们就可以在 MDX 文件中使用 Vue 组件了,如果需要在已有的 Markdown 文件中使用的话,我们只需要修改文件后缀为.mdx就可以了。
---
layout: ../../layouts/post-layout.astro
title: My Awesome Post
---

import AppAudio from '../../components/app-audio.vue'

<AppAudio src="remote audio file" client:only />
需要注意的是,在 MDX 中传入 props 参数的时候,我们需要遵循 JSX 的语法,而不是 Vue 的语法。
一些需要注意的地方
-
图片懒加载 我需要一个能在
img标签上插入loading="lazy"的机制,理想情况下,对于新博客而言,我推荐你们全部使用 MDX 作为默认的书写介质,这样就可以使用 Astro 自带的<Image/>组件,这个组件默认就会带上loading="lazy"属性,而且你也可以开发和使用自己的组件,一张图能被玩出花儿来,但是对于老博客迁移过来的.md文件,一个个修改的话多少还是有点不太现实,虽然可以用 remark 插件来做 post editing(我查到的实现方式),但是牺牲了图片的alt属性,这并不是我想要的。 -
生成的链接并不包含
.html后缀 如果你之前是用的是 Hexo,那么你的链接结构可能是这样的:domain.com/:year/:month/:day/:title.html,但是 Astro 生成的结构其实是这样的:domain.com/:year/:month/:day/:title/index.html,要解决这个问题其实也很简单,我们在src/pages/[year]/[month]/[date]/中新增一个名为[slug].html.astro的文件即可,你可以完全复制[slug].astro的逻辑,或者用来重定向,重定向的写法如下:--- import {getCollection} from 'astro:content' export async function getStaticPaths() { // 与 `[slug].astro` 一致 } let {year, month, date, slug} = Astro.params --- <meta http-equiv="refresh" content={`0; url=/${year}/${month}/${date}/${slug}`} >
Update: Jan 19, 2024
Astro 4.2 版本支持了针对 Markdown 中图片的自定义优化,现在可以直接用 remark 插件来实现lazy loading的属性插入了。
// ./src/utils/remark-plugin-image.js
import {visit} from 'unist-util-visit'

export default function remarkPluginImage() {
  return (tree) => {
    visit(tree, 'image', (node) => {
      if (!node.data) {
        node.data = {}
      }

      if (!node.data.hProperties) {
        node.data.hProperties = {}
      }

      node.data.hProperties.loading = "lazy"
    })
  }
}
// astro.config.mjs
import {defineConfig} from 'astro/config'
import tailwind from '@astrojs/tailwind'
import mdx from '@astrojs/mdx'
import vue from '@astrojs/vue'
+ import remarkPluginImage from './src/utils/remark-plugin-image.js'
// https://astro.build/config
export default defineConfig({
integrations: [tailwind(), mdx(), vue()],
site: 'https://jw1.dev',
markdown: {
+ remarkPlugins: [
+ remarkPluginImage
+ ],
shikiConfig: {
experimentalThemes: {
light: 'github-light',
dark: 'github-dark'
}
}
}
})